Dawn of Defense Armor, Ward & Health Explained
Layer counters, targeting priority, Banner Carriers, and warlord preparation.
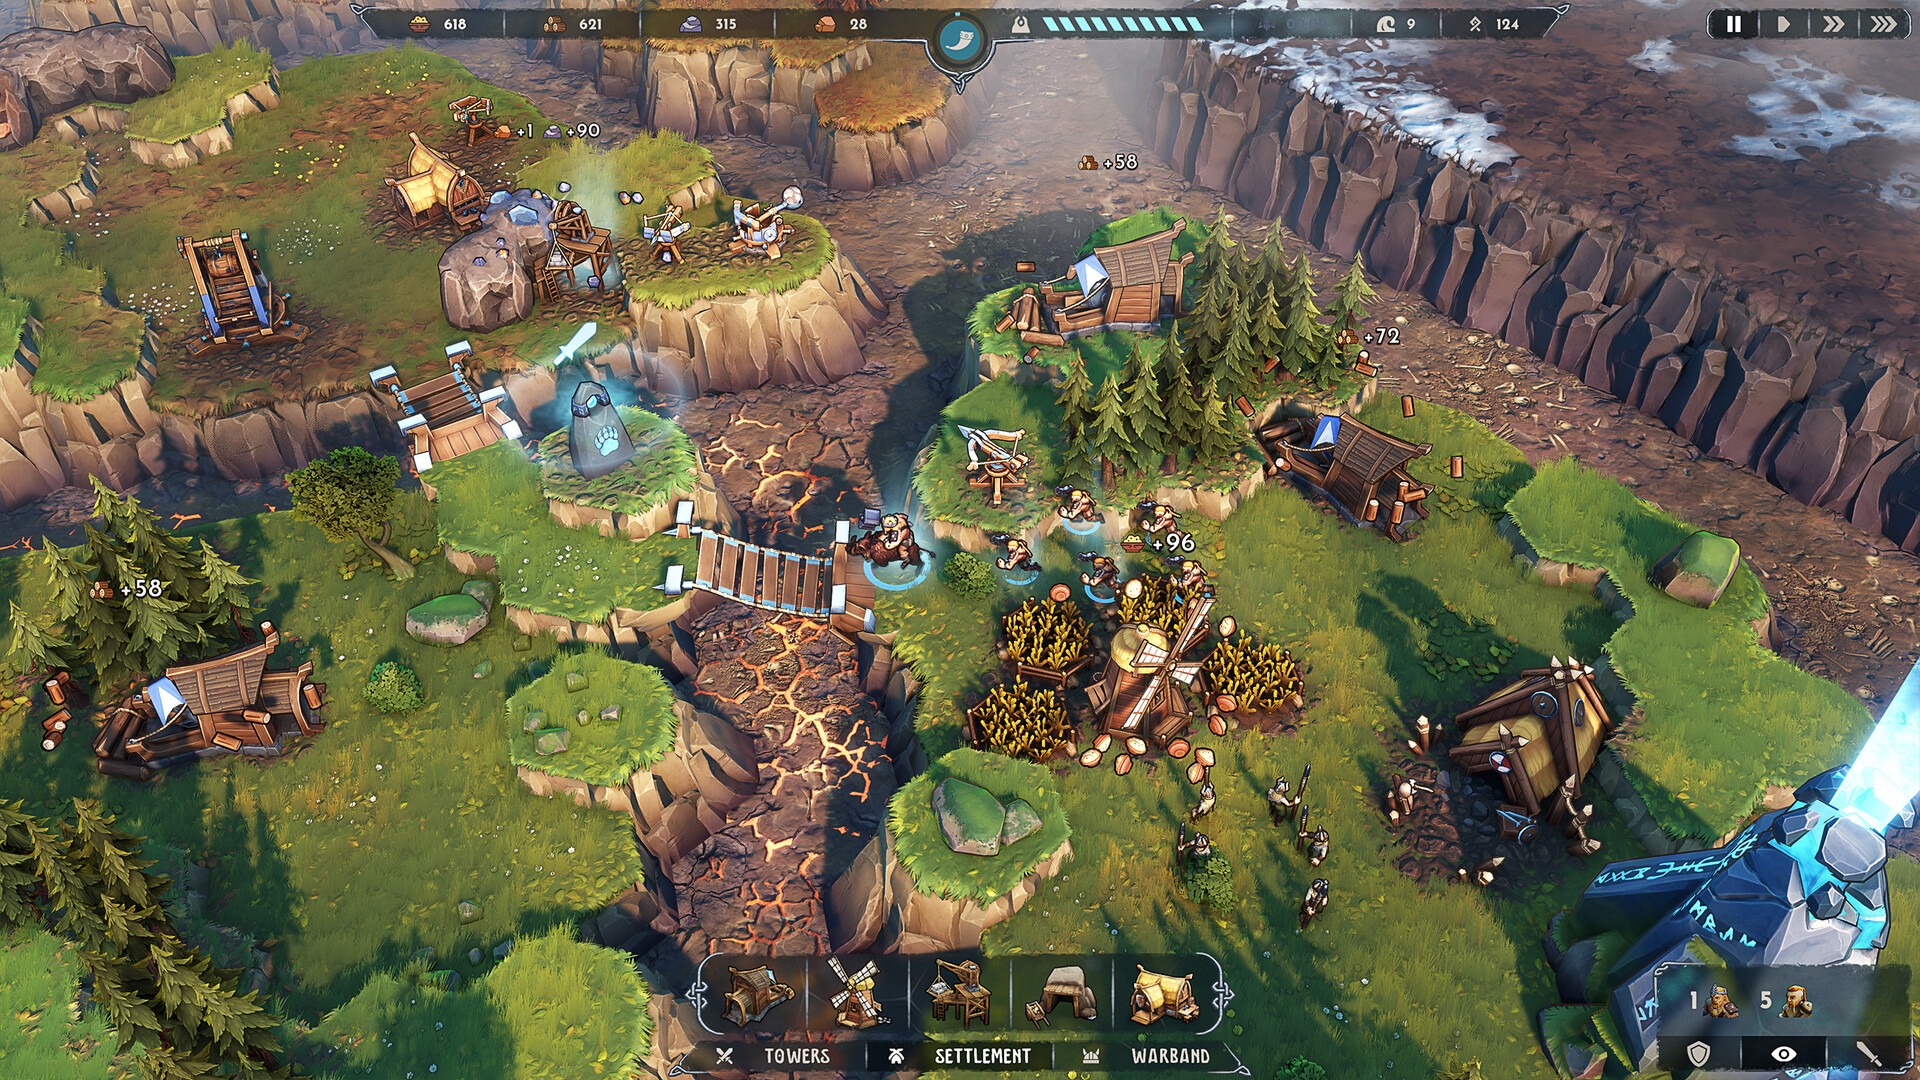
Dawn of Defense stopped being a pure hit-point race the moment 6side Studio layered Health, Armor, and Ward onto Empire units. Raw Boltskot DPS still matters, but mid-game and warlord packs punish one-dimensional boards that never pierce, shred, or mark. This guide explains each durability layer, which towers and heroes answer them, how to set targeting priority around Banner Carriers, and how to prep those counters before a fortress push. Pair it with the Towers Tier List for placement ranks and Beat Warlords when you are ready to siege.
Released November 17, 2026 on Steam PC, Dawn of Defense is single-player Tower Defense + RTS + Roguelite. There is no multiplayer teammate to cover a lane while you learn Armor math — every failed mark or ignored Ward pack is on you.
Health, Armor, and Ward at a glance
| Layer | What it does | Typical threats | Primary answers |
|---|---|---|---|
| Health | Raw durability pool | Soft infantry, early waves | Sustained Boltskot fire, Skullbrakkr splash, army chips |
| Armor | Blunts many physical hits | Armored marchers, elites, some warlord escorts | Pierce upgrades, Eyodin vulnerability marks, focus fire, armor-shred Runestones |
| Ward | Separate mitigation layer stronger than plain Health padding | Phalangors, Praetorians, some elite packages | Ward-break tools, Eyodin marks, dedicated Runestones/unit upgrades — not Armor counters by default |
Treat the three bars as different problems. Dumping more generic damage into an armored brute feels like the game is broken; the damage was fine, the layer was wrong. Ward is even more deceptive: Phalangors often show modest attack but high Ward, so they stall killboxes that were tuned only for Health.
How each tower interacts with the layers
Use the core roster as role tools, not interchangeable DPS pads. Full rankings live on the Towers Tier List; here is the layer-focused reading:
- Boltskot — Single-target pierce spine. Best default against lined Health packs and armored singles once pierce or mark support is online. Elevate for free range; keep at least one pad on the Spiridun approach.
- Skullbrakkr — AoE catapult clear. Melts clumps of soft Health after Banner Carriers die. Weaker as a pure Armor or Ward solution unless splash partners with marks.
- Tarbarl — Tar slow. Buys time-on-target so pierce and splash convert Health, Armor, and Ward before units leave the killbox. Place at entrances, not after the DPS lane.
- Eyodin — Allfather idol that marks enemies vulnerable. The flagship answer when Armor or Ward makes damage feel soft. Mark the tankiest priority target early in the path so Boltskot, Skullbrakkr, and the warband all amplify.
- Krokran — Harpoon stun and strong pressure versus unarmored packs. Excellent Health control on soft rushes; underwhelming as a primary Armor or Ward breaker unless Runestones add shred.
A healthy trench mixes roles: pierce + slow + mark for layered elites, splash for trash that respawns under Banner auras, stun for unarmored floods.
Banner Carriers: targeting priority rule one
Banner Carriers buff nearby Empire units with effects such as Armor reinforcement or Health recovery. Developer combat notes stress killing them first — towers and heroes should retarget so the aura dies before you grind the front line. Practical priority:
- Spot the Carrier (often mid or rear of the clump).
- Assign Boltskot focus, Eyodin mark, or a hero ability to delete it.
- Collapse the remaining pack with Skullbrakkr AoE and army.
- Re-mark the next Armor or Ward elite.
Leaving Carriers alive is the classic “my DPS disappeared” failure. Fix targeting before you rebuild the entire tower line.
Phalangors, Praetorians, and other Ward packages
Phalangors are the mid-game Ward teachers: lower attack, high Ward. Bring Ward-break upgrades, Eyodin uptime, and patience — do not expect pure Boltskot without support to feel fair. Praetorians stack high Ward with real damage; you need both Ward answers and your own Armor or durability on the warband so island fights do not reverse. Late threats such as Minotaurs lean into high Health, high attack, and Armor penetration — answer with focus fire, marks, and defensive unit upgrades rather than more unarmored glass.
When scouting a wave, ask: is this a Health blob, an Armor wall, a Ward wall, or a Carrier-backed mix? Draft the next Runestone and tower pad for the answer you see, not the answer you wish you had.
Army, heroes, and Runestone synergy
Towers hold trenches; the warband and altar hero finish islands and fortresses. Prefer Shieldbearers up front when Armor packs hit hard, Spearmen and Axemen for flexible damage, and field Catapults once Iron and Stone allow structure pressure. Heroes that open mark, stun, or durability windows multiply Eyodin and Tarbarl — see the Hero Guide for altar selection that fills the gap your trench leaves.
During the run, Runestones that unlock pierce, Ward break, mark amplify, or slow duration are worth more than generic “+damage” when layered enemies dominate. After the run, spend Runes into permanent nodes that make those counters appear earlier. Do not confuse the two currencies.
Common mistakes
- Treating Ward like Armor and only buying pierce.
- Ignoring Banner Carriers while dumping splash into buffed frontliners.
- Building five Boltskot pads and zero Eyodin or Tarbarl against mid-game elites.
- Marking low-value trash while the Phalangor walks past unmarked.
- Leaving Krokran as your only answer to heavy Armor.
- Pushing a fortress before mark, slow, and Carrier focus are online.
Warlord and Blood Moon preparation
Before a fortress commit, confirm the checklist:
- Eyodin available (built or Runestone-backed) if Armor or Ward escorts are expected.
- Tarbarl or equivalent slow for add waves.
- Explicit Banner Carrier kill plan (tower target or hero burst).
- Boltskot focus lane that can see the boss approach.
- Skullbrakkr ready for clumped adds.
- Warband durability (Shieldbearers / Shieldmaidens) so island staging survives return fire.
- Spiridun stable enough that siege micro will not orphan the trench.
Higher difficulties up to Blood Moon raise pack density and Rune payouts. Climb when layered counters feel automatic on lower pressure — greed for Runes without Eyodin uptime just teaches the same wipe faster. Full fortress patterns and siege retreats live in Beat Warlords.
Related pages
- Guides Hub — full guide index.
- Beat Warlords — three fortresses, Carrier priority, siege checklist.
- Towers Tier List — S/A/B ranks and elevation notes.
- Hero Guide — altar kits that open mark and stun windows.
- Blood Moon — difficulty climb and reward pressure.
Master the three layers and Dawn of Defense stops feeling random. Mark what must melt, break the Ward that is stalling you, delete Banner Carriers first, and only then empty Health bars — that order wins more runs than raw damage ever will.
Frequently Asked Questions
Quick answers about Dawn of Defense and this wiki.
What is the difference between Armor and Ward in Dawn of Defense?
Armor reduces the effectiveness of many physical hits. Ward is a separate durability layer that often needs dedicated Ward-break tools or Eyodin marks — Armor counters do not automatically solve Ward.
Why do Phalangors feel so tanky?
Phalangors typically stack high Ward with modest attack. Without Ward-break support or vulnerability marks, generic trench DPS stalls even when Health looks manageable.
Should I always kill Banner Carriers first?
Yes in most mid-to-late packs. Carriers buff nearby units with Armor or recovery effects; deleting the aura first makes the rest of the clump much easier to finish.
Which tower is best against Armor and Ward?
Eyodin’s vulnerability mark is the key multiplier. Pair it with Boltskot pierce for singles, Skullbrakkr for clumps, and Tarbarl slows so marked targets stay in the killbox.
How does this guide connect to warlord fights?
Warlords punish missing layer counters. Prep Eyodin, Carrier focus, and slows before a fortress push — then follow Beat Warlords for siege timing and Blood Moon climbing.