Dawn of Defense Towers Tier List
S/A/B rankings for trench DPS, AoE, utility, and mark setups.
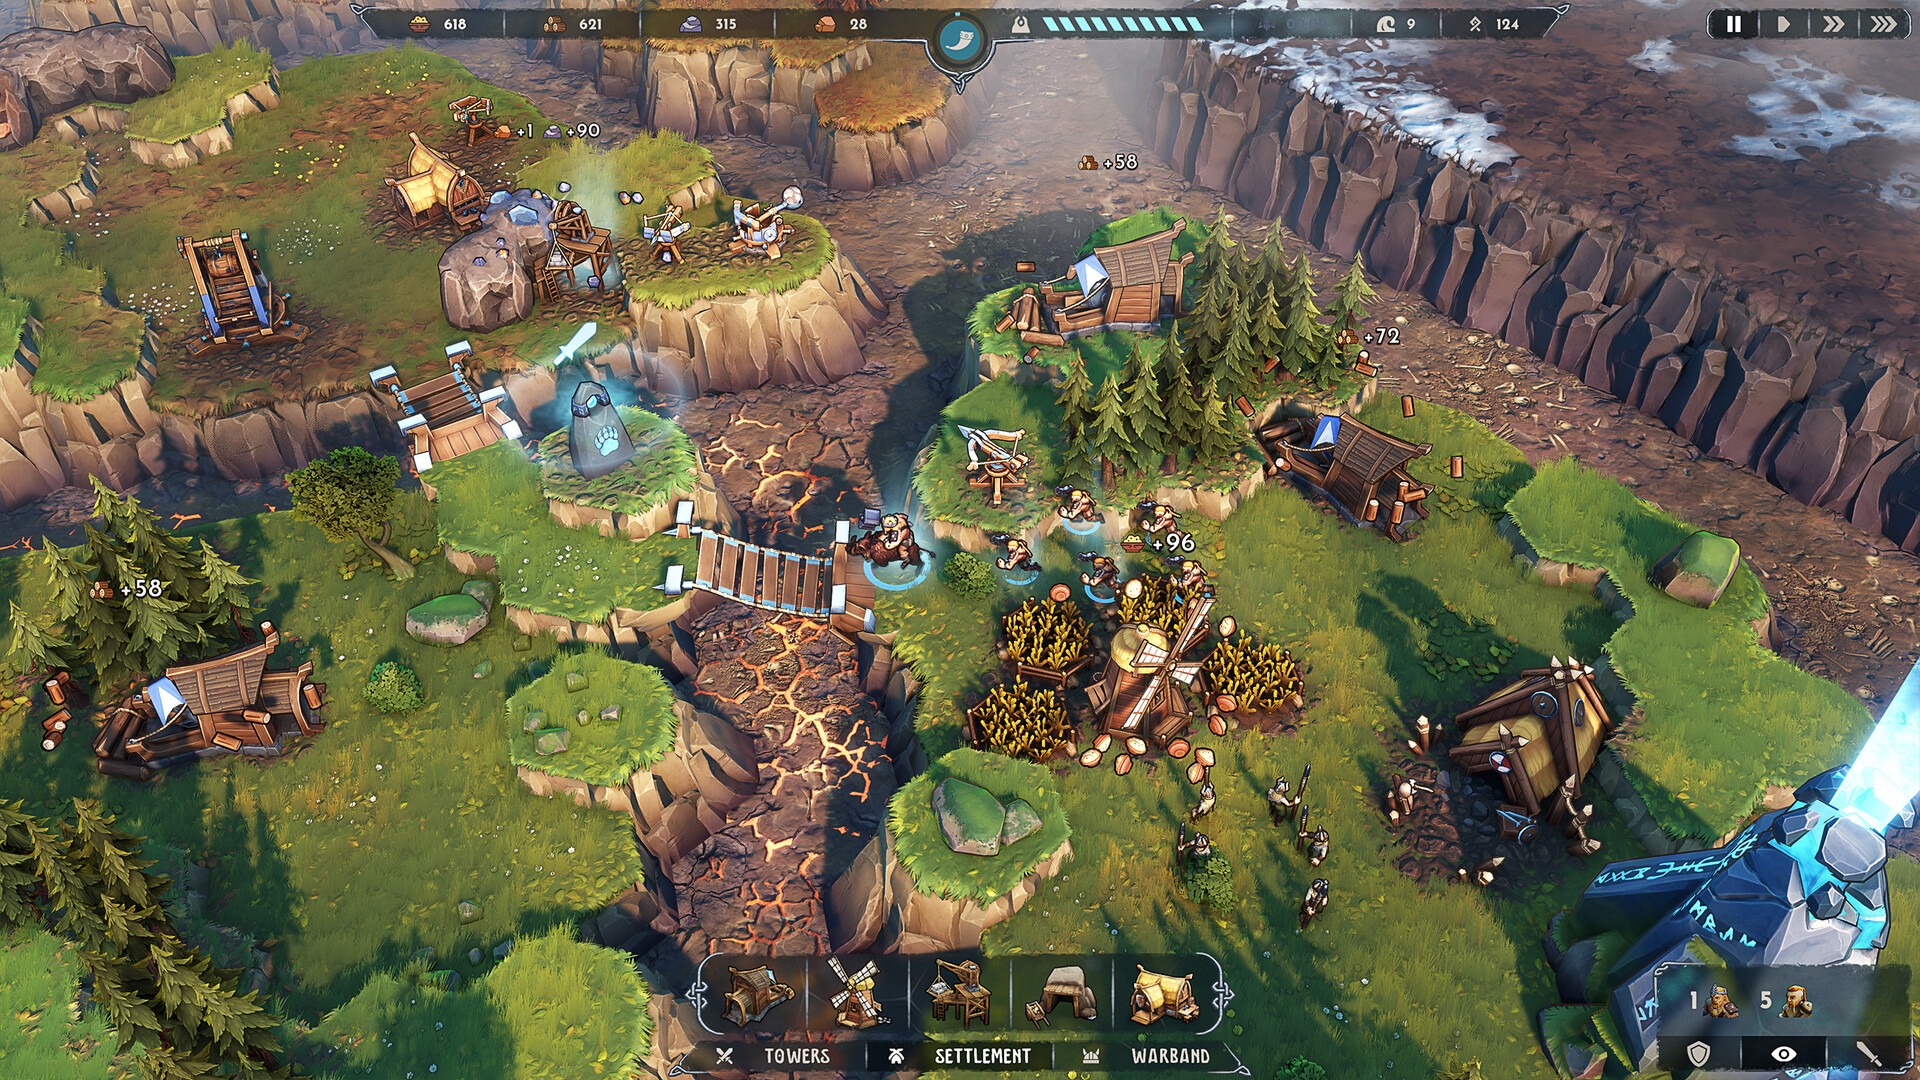
Towers hold the trenches while your warband takes islands. A strong line mixes pierce DPS, splash, slows, marks, and stuns so Health, Armor, and Ward enemies all die before they reach the Spiridun. This list ranks the core roster for general play after the November 2026 launch. Pair it with the Units & Heroes Tier List and Runestones Tier List when you draft upgrades that buff specific buildings.
Ranking criteria
- S-tier: Wins most layouts with modest investment; scales hard with elevation or common Runestones.
- A-tier: Excellent with a partner tower or buff; slightly map-dependent.
- B-tier: Situational specialists that spike against unarmored packs, high-Ward elites, or ultra-tight bridges.
Resource cost, placement flexibility, and how well the tower covers Banner Carrier buffs all matter. Never rank a tower in isolation from settlement income—Sawmill, Windmill, Quarry, and Mine fund every pad you place.
S-tier towers
Boltskot (ballista pierce — DPS)
Boltskot is the default high-ground DPS tower. Its pierce shreds lined-up trench columns, and elevation grants +1.2 range per height level, which turns ridges into death corridors. Place Boltskot first when you see stacked height tiles overlooking the orange magma approach path. Upgrade pierce and attack speed when Runestones offer them; avoid burying Boltskot on flat islands when a taller tile sits unused nearby.
Boltskot struggles alone against dense clumps that need splash or against high-Armor brutes that shrug single bolts. Cover it with Tarbarl slows or Eyodin marks so targets linger in the pierce lane. On multi-island maps, keep at least one Boltskot covering the Spiridun approach even while you push outward.
Skullbrakkr (catapult AoE — AoE DPS)
Skullbrakkr answers the clump problem. Catapult arcs punish packed infantry and soft elite packs that Boltskot overkills in a line but underkills in a blob. Prefer Skullbrakkr when bridges funnel enemies into small footprints or when warlords spawn dense mid-wave reinforcements. Aim for overlapping splash with Tarbarl so slowed packs eat multiple impacts.
Skullbrakkr is less efficient against single tanks and can waste shots on stragglers. Do not spam five catapults—two well-placed Skullbrakkr plus pierce usually outperform a pure AoE wall. Runestone families that widen splash or add burn amplify this tower into true S-tier territory.
A-tier towers
Eyodin (mark vulnerable — mark / utility)
Eyodin paints targets vulnerable so the rest of your line (and warband) melts them. Marks shine against high-Armor or high-Ward elites that would otherwise stall Boltskot and Spearmen. Place Eyodin where it can see priority targets early in the path, not buried at the back where it only marks corpses.
Eyodin’s personal damage is modest; its value is multiplicative. Draft Runestones that extend mark duration or amplify marked damage, then lean into Banner Carrier buffs on your units during island assaults. Without a damage partner, Eyodin falls to B—always pair it.
Tarbarl (tar slow — utility / control)
Tarbarl is the glue of trench defense. Slowing packs increases time-on-target for pierce and splash, buys your warband time to rotate, and softens Banner Carrier rushes. Place tar where enemies enter the killbox, not after they have already walked past Boltskot range. Multiple Tarbarl pads along a long trench can create permanent sticky zones.
Tarbarl rarely carries a wave alone, which keeps it out of pure S for many players, but ignoring slow on fast maps is how Spiridun HP disappears. Prefer Tarbarl highly when you see light, fast unarmored swarms that Krokran will also love.
B-tier towers (situational spikes)
Krokran (harpoon stun — control vs unarmored)
Krokran stuns and disrupts, excelling against unarmored clumps that would otherwise sprint through. Use it on maps with wide approaches and soft infantry spam. Against heavy Armor walls, Krokran underperforms unless Runestones add armor shred. Think of it as a specialist control piece: one or two pads, not a primary DPS spine.
When Phalangors and other high-Ward units appear, combine Krokran stuns with Eyodin marks and warband focus fire rather than expecting the harpoon alone to delete them.
Placement and elevation tips
- Scout height before spending—Boltskot range scaling is free power.
- Keep a killbox overlapping pierce + slow + splash; marks sit on the entrance.
- Leave space for Bridge and Barracks near forward islands so towers and warband reinforce each other.
- Meadhall near production buildings funds more pads than a greedy fourth tower when wood or stone is the bottleneck.
- Never leave the Spiridun uncovered while your army is mid-siege.
Synergy with units and runestones
Tower lines win trenches; units win islands. After a wave, draft Runestones that match your spine—pierce and range for Boltskot-heavy boards, splash and burn for Skullbrakkr, mark amplify for Eyodin. When you push, bring Shieldbearers to hold bridges while towers keep firing behind them. See the Units & Heroes Tier List for warband roles and the Runestones Tier List for draft priority. For altar playstyles that lean on marked targets or stun windows, open the Hero Guide.
Sample trench cores
- High ground pierce: Boltskot elevated ×2–3, Tarbarl entrance, Eyodin on elites.
- Bridge funnel: Skullbrakkr overlapping the choke, Tarbarl, one Boltskot for leftovers.
- Unarmored rush: Tarbarl + Krokran stun corridor, Boltskot cleanup.
Rebuild cores when warlords change patterns. A list is a starting point; the Spiridun is the scoreboard.
Frequently Asked Questions
Quick answers about Dawn of Defense and this wiki.
Is Boltskot always better than Skullbrakkr?
No. Boltskot wins on elevated pierce lanes; Skullbrakkr wins on dense clumps and tight bridges. Most strong boards run both.
How much does elevation matter for Boltskot?
Each height level adds +1.2 range. Moving a pad one or two levels up often beats buying another flat tower.
When should I build Krokran?
When waves are soft and fast (unarmored). Skip or delay it against heavy Armor unless Runestones add shred.
Do settlement buildings count as towers?
No. Sawmill, Windmill, Quarry, Mine, Bridge, Barracks, Meadhall, and Spiridun are settlement or warband infrastructure—fund and protect them, but rank combat pads here.
Should I copy this tier list every run?
Use it as a default, then adapt to map height, bridge count, and warlord tactics. Pair with Runestone drafts that reinforce your spine.