Dawn of Defense Units & Heroes Tier List
S/A/B roles for island pushes, bridge holds, and altar heroes.
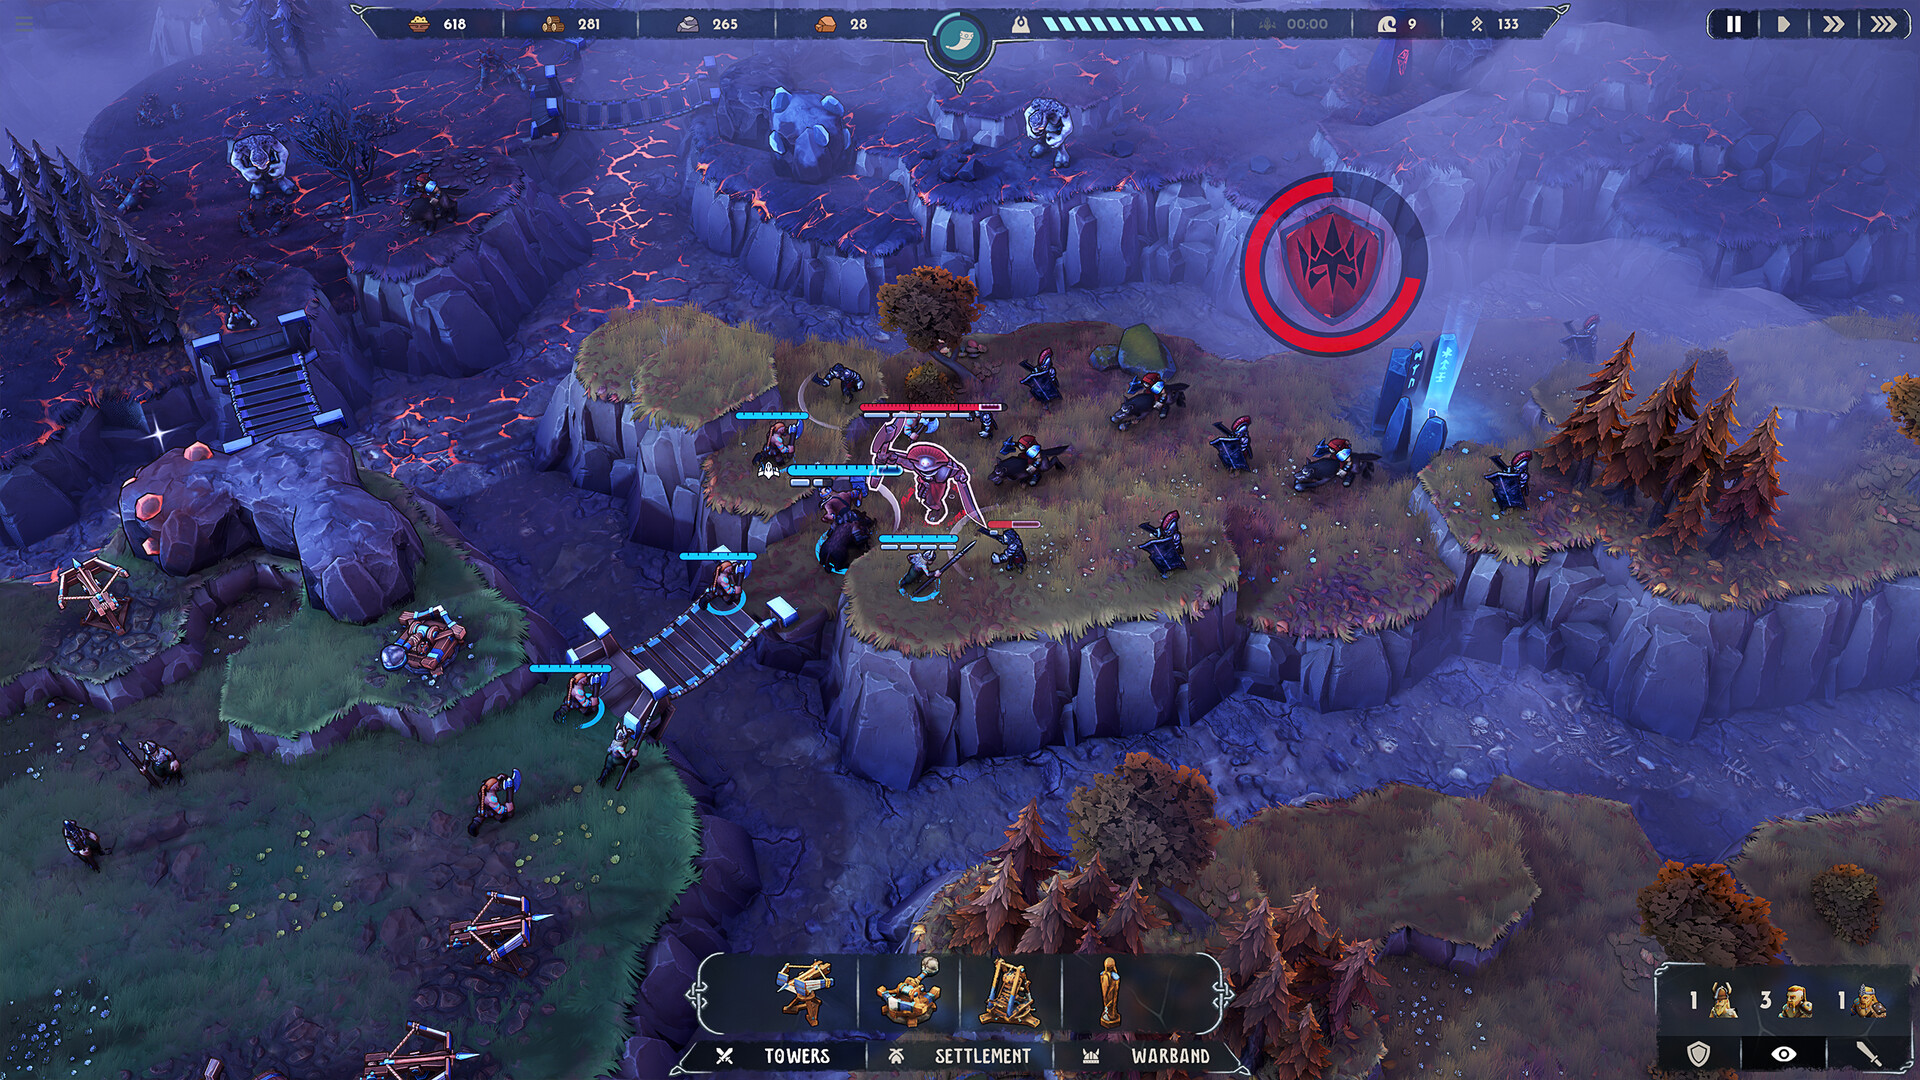
Towers keep the trenches alive; units and heroes take the map. Dawn of Defense asks you to train a warband, cross Bridges, capture islands, and eventually crack Empire strongholds while the Spiridun still stands. This tier list ranks core infantry, siege pieces, and altar heroes for general single-player runs. Cross-link with the Towers Tier List so your killbox and frontline agree, and with the Runestones Tier List when drafts buff troops.
Combat layers to remember
Enemies and allies track Health, Armor, and Ward. Armor blunt physical spikes; Ward blunts magical and marked pressure. Banner Carriers buff nearby allies—kill or isolate them early. Phalangors bring high Ward and punish teams that only stack raw physical DPS. Your warband should answer each layer: tanks for focus fire, reach for soft targets, siege for structures, and a hero that opens windows towers can exploit.
S-tier units and roles
Shieldbearer (tank)
Shieldbearers are the default front line for bridges and stronghold gates. They soak trenches of attention so Axemen and Spearmen deal damage instead of dying in the open. On contested bridges, three to four Shieldbearers form a wall that lets towers behind them keep firing. They are not your primary damage; overbuilding tanks without DPS loses long fights.
Draft Runestones that add armor, block chance, or aura size when you commit to a Shieldbearer core. Place them slightly ahead of Spearmen so reach weapons poke safely. When Banner Carriers appear, peel them with Spearmen or hero abilities while Shieldbearers hold the blob.
Spearmen (reach DPS)
Spearmen punish anything that stops in front of the shield wall. Their reach makes them excellent behind tanks and on narrow bridges where melee clutter wastes Axemen swings. Against high-Ward Phalangors, Spearmen still help, but you want Eyodin marks or hero tools to break Ward before a pure physical grind.
Keep Spearmen off the absolute front edge—one bad surround deletes them. Control-group them separately from Shieldbearers so you can retreat reach units while tanks delay.
A-tier units
Axemen (flexible melee)
Axemen are the early Barracks staple: cheap, flexible, good for clearing soft camps and reinforcing a collapsing bridge. They fall behind Spearmen for sustained chokepoint DPS and behind Shieldbearers for holding, so graduate your composition as iron and food allow. Axemen remain strong when you need bodies fast after a wipe or when Runestones specifically buff axe infantry.
Shieldmaiden (elite infantry)
Shieldmaidens sit between tank and damage. They shine in mid-game pushes where you need a durable second line that still contributes kills. Prefer them when you already have a Shieldbearer front and want more punch without waiting on siege. They are slightly more expensive than basic infantry—do not replace your entire wall with maidens if wood and food are tight.
Field catapults (siege / AoE)
Mobile catapults crack stronghold walls and soften dense packs during sieges. They are fragile; escort them with tanks and never leave them alone on a newly taken island. Synergize with Skullbrakkr tower splash when trenches and field fights overlap visually on the same map spine. Runestones that add siege damage or splash radius elevate catapults into must-pick territory for late islands.
B-tier and situational notes
Pure Axemen spam is a B-tier plan past the early game unless drafts force it. Ultra-light scouting squads without tanks also rate poorly against Banner Carrier blobs. Situational excellence still exists: a small Axemen raiding party can snatch a weakly held island while your main force and towers hold the Spiridun—just do not confuse a raid with a siege composition.
Heroes at the altar (overview tiers)
Altar heroes define the feel of a run. Broad rankings:
- S-tier hero archetypes: opener tools that create stun, mark, or banner windows your towers already exploit; durable captains who keep the warband alive on bridges.
- A-tier: strong specialists that need a matching Runestone family or tower spine (for example mark amplifiers with Eyodin boards).
- B-tier: fun or niche kits that struggle if the warlord answers their gimmick.
Exact hero names and kits evolve with unlocks—use the Heroes Hub and Hero Guide for selection and playstyle depth. Rule of thumb: pick a hero that covers a gap in your tower line (control if you lack Tarbarl/Krokran, burst if you lack Skullbrakkr) rather than stacking the same fantasy twice.
Army templates
- Bridge wall: Shieldbearer front, Spearmen second line, hero with peel, catapults in the rear when sieging.
- Fast expand: Axemen + one Shieldbearer squad to claim a nearby island, towers covering Spiridun, hero defending home until income stabilizes.
- Ward break: Eyodin-supported towers, Spearmen, hero mark/stun tools, focus fire Phalangors before Banner Carriers rebuff them.
Always train from Barracks with food and iron in mind. Windmill and Mine timing matter as much as unit quality—see settlement notes on the Tier List Hub and economy tips across guides.
Linking towers and drafts
When Boltskot pierce is your trench spine, prefer heroes and Spearmen who capitalize on slowed, marked targets. When Skullbrakkr AoE leads, bring warband catapults and clump enemies into splash. Tarbarl and Krokran create windows—micro your hero into those windows instead of fighting on cooldown alone. After each wave, open the three-choice Runestone screen with a plan: troop HP, attack speed, or siege damage should match the template above. Full draft strategy lives on the Runestones Tier List.
Common mistakes
- Leaving the Spiridun with zero units while the whole army sieges.
- Building Barracks before Sawmill/Windmill income exists.
- Ignoring Banner Carriers until the buffed blob arrives.
- Treating heroes as lone wolves instead of force multipliers for Shieldbearers and towers.
- Forgetting Bridge cost when the next island is the real win condition.
Master the warband loop and the tower tier list suddenly becomes easier—the map opens, pads multiply, and Runestones have more buildings to empower.
Frequently Asked Questions
Quick answers about Dawn of Defense and this wiki.
What should I train first from the Barracks?
Axemen for early claims if the nearby island is soft; otherwise start Shieldbearers so you can hold a bridge while Spearmen come online.
How do Banner Carriers change unit tiers?
They raise the value of focus fire and peel. Spearmen and heroes that can delete carriers jump in priority; pure tank walls without damage fall behind.
Are field catapults worth it every run?
For stronghold sieges, yes. For pure trench defense, invest in towers first and add mobile catapults when you commit to island assault.
Where do I learn hero kits in detail?
Start at the Heroes Hub, then read the Hero Guide for selection, micro, and playstyle matchups with towers and Runestones.
Do Phalangors counter my army?
High Ward punishes raw physical stacks. Bring Eyodin marks, appropriate hero tools, and mixed damage instead of more Axemen alone.