Dawn of Defense Tier Lists
S/A/B rankings by role for trenches, island pushes, and runestone drafts.
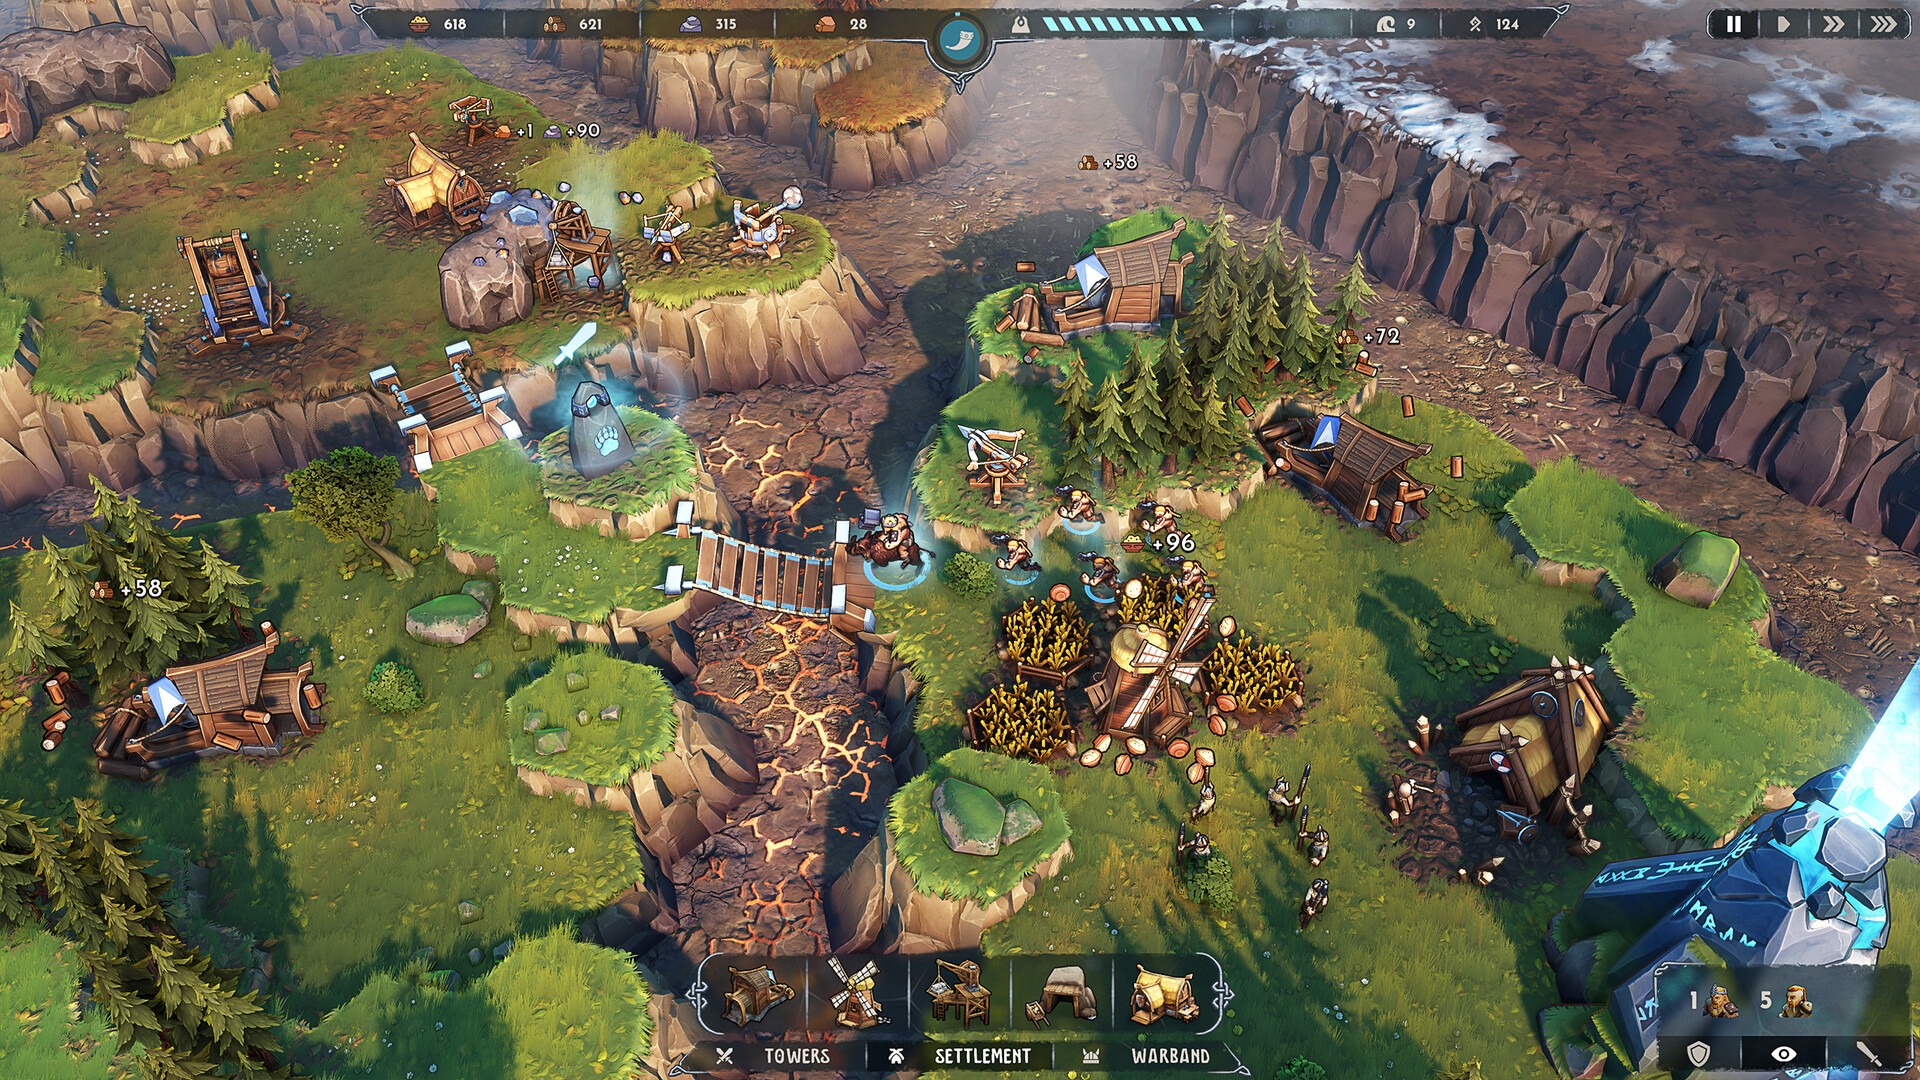
Dawn of Defense rewards builds that cover DPS, AoE, control, and economy at the same time. This hub collects our current S/A/B rankings so you can draft towers for the trenches, field a warband that can take islands, and steer Runestone picks without guessing. Rankings assume single-player runs after the November 17, 2026 Steam launch and will shift when patches land—always weigh map layout and warlord patterns over blind copy-paste.
How we rank
We score options on reliability across maps, power when elevated or buffed, resource cost versus payoff, and synergy with common Runestone families. An S-tier pick clears or holds a lane with little babysitting. A-tier needs a partner (mark, slow, or Banner Carrier) but still wins most drafts. B-tier shines in niche layouts—tight bridges, high Ward enemies, or heavy armor packs—and should not be ignored when the map asks for it.
Combat uses Health, Armor, and Ward. Armor cuts physical hits; Ward resists the magical and marked pressure some towers apply. Banner Carriers buff nearby allies, and Phalangors lean hard into Ward. Your tower line and warband must answer all three layers or late waves stall on the Spiridun.
Tier list pages
- Towers Tier List — Boltskot, Skullbrakkr, Tarbarl, Eyodin, and Krokran with elevation notes and role tags (DPS, AoE, utility, mark).
- Units & Heroes Tier List — Axemen, Spearmen, Shieldbearer, Shieldmaiden, catapults, and altar heroes for pushes and holds.
- Runestones Tier List — in-run three-choice drafts versus permanent Runes, families, and when to reroll.
Cross-check settlement buildings (Sawmill, Windmill, Quarry, Mine, Bridge, Barracks, Meadhall, Spiridun) before you overspend on a flashy tower. Meadhall’s nearby production bonus often outvalues a third tower if your economy is starving.
Reading a draft
Start every run by scanning trench paths and high ground. Elevation gives Boltskot +1.2 range per height level, so ballista lines on ridges outpace flat placements. Pair pierce DPS with Tarbarl slows or Eyodin marks; save Krokran’s harpoon stun for unarmored clumps that would otherwise race past. When you leave the island for a siege, bring Shieldbearers up front, Spearmen for reach, and a hero that matches the warlord—do not leave the Spiridun naked while your whole army is away.
Use this hub as the map of the meta, then open the child pages for full S/A/B write-ups, matchups, and FAQ. Pair rankings with the Heroes Hub when you lock an altar pick, and revisit after each major balance note on the Updates Hub.
Frequently Asked Questions
Quick answers about Dawn of Defense and this wiki.
How often will these Dawn of Defense tier lists change?
After notable balance patches or when community consensus shifts. Check the Updates Hub and re-read the relevant child page—towers and runestones move first.
Should I always pick S-tier towers?
No. Map elevation, bridge chokepoints, and enemy armor/Ward matter more than a letter grade. B-tier Tarbarl or Krokran can be correct when the wave composition demands control.
Do tier lists cover settlement buildings?
Economy buildings are scored by role inside the tower and unit pages. Spiridun is your lose condition—protect it first—while Meadhall ranks high whenever production clusters exist.
Where should new players start?
Read the Towers Tier List for trench defense, then Units & Heroes for island pushes, then Runestones once you understand the three-choice draft after waves.