Dawn of Defense Blood Moon Difficulty Guide
When to climb, how to prep, and how to farm Runes without wasting learning time.
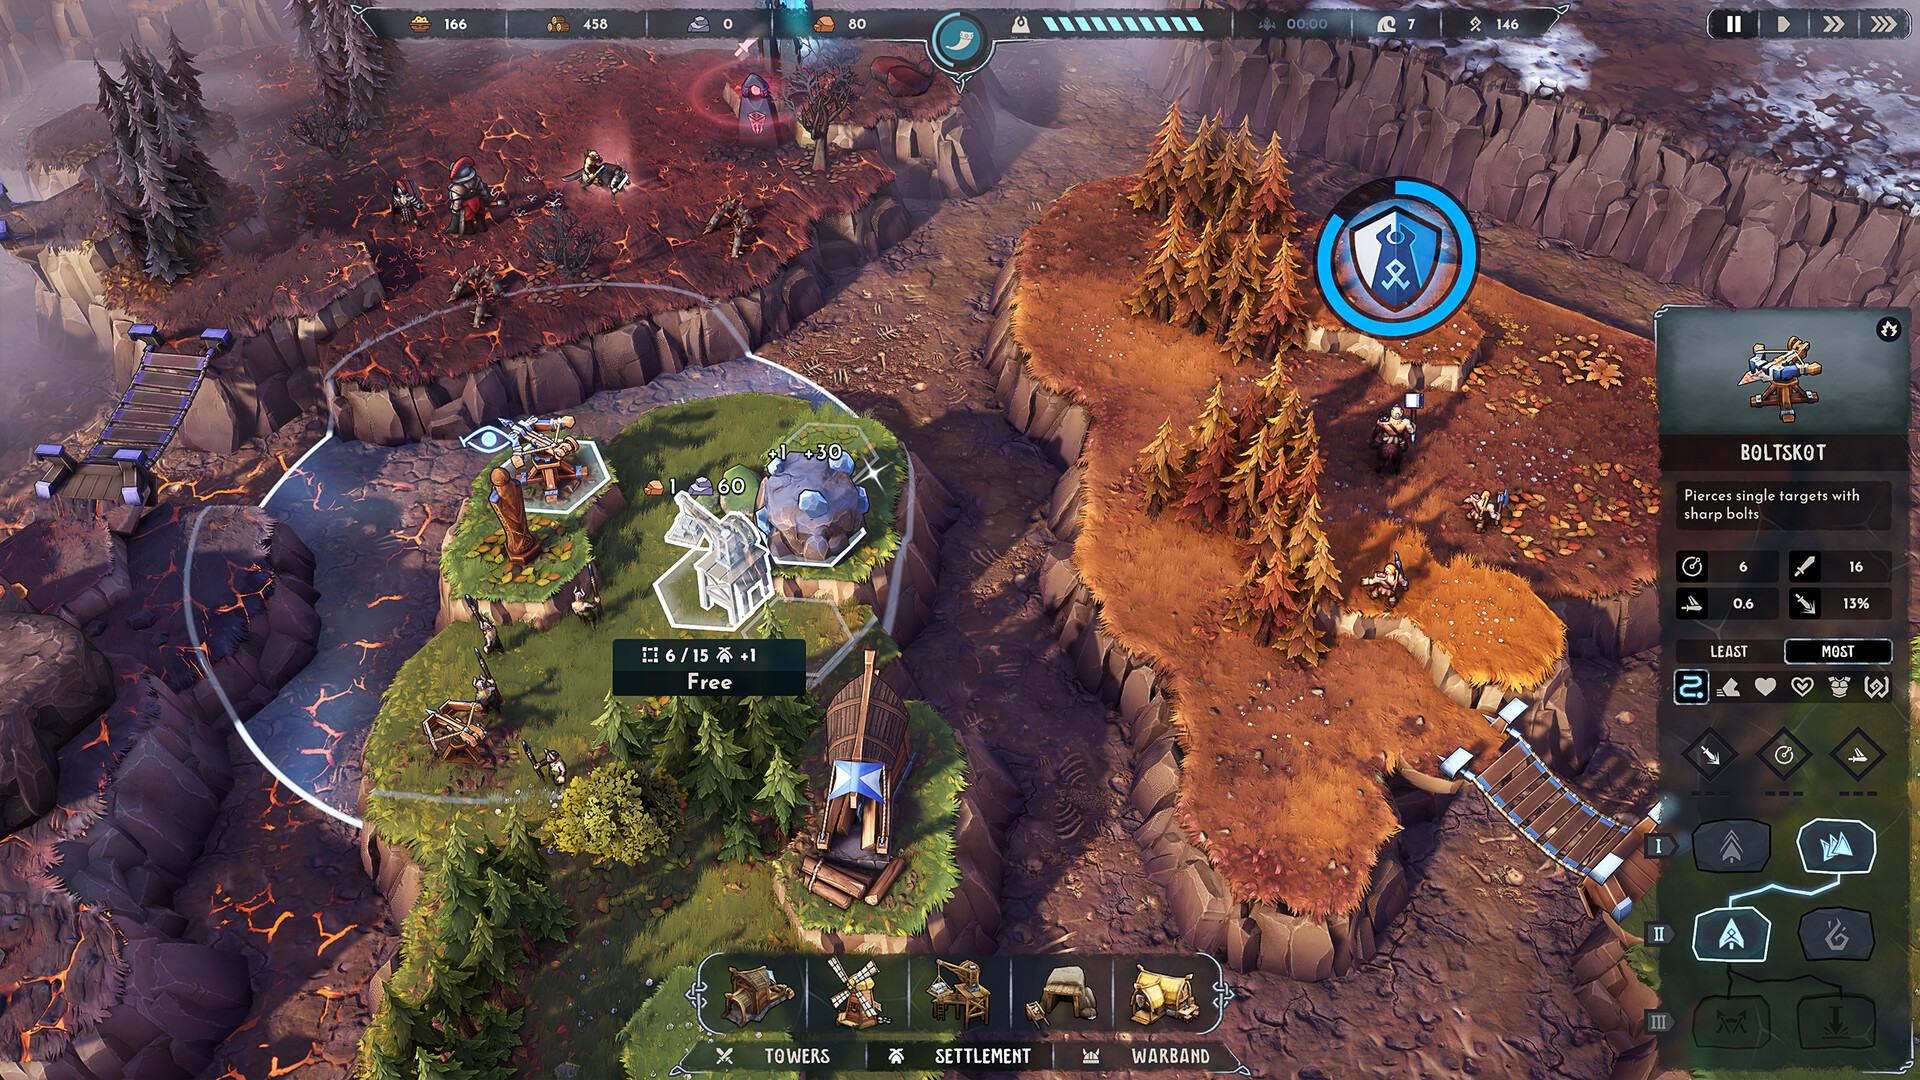
Blood Moon is the high difficulty tier in Dawn of Defense. It raises pressure across trenches and island sieges and pays more Runes into the permanent skill tree when runs end. This guide explains when the climb is actually unlocked in practice, what to prepare before you flip the setting, how economy discipline changes under the red moon, how to pace the three fortresses, and why “dead run Rune farming” is a slower teacher than honest clears. Pair it with Beat Warlords, Armor & Ward, Economy & Resources, and Meta Progression once the basics feel automatic.
Dawn of Defense launched November 17, 2026 as a single-player Steam PC title from 6side Studio. There is no multiplayer safety net — every Blood Moon attempt is yours alone. Launch also shipped experimental autosave; treat it as helpful, not infallible, and avoid reckless mid-siege exits. For the day-one feature list that introduced Blood Moon, see Launch Notes. The full index lives on the Guides Hub.
What Blood Moon changes
Higher difficulty is not a cosmetic skin. Expect denser waves, less forgiveness on Spiridun chip damage, greedier island takes punished harder, and fortress windows that punish missing Armor or Ward answers. The upside is a thicker Rune payout after the run — win or lose — which accelerates permanent nodes that unlock better starting tools and stronger Runestone pools on future seeds.
Keep the currencies separate:
- Runestones — temporary three-choice upgrades after waves inside one run.
- Runes — meta currency banked after each run into the permanent skill tree.
Blood Moon rewards players who already understand that split. If you still spend Runes like they were Runestones, climb later.
When to unlock the climb
The menu may let you select Blood Moon early. The real unlock condition is consistency on a lower tier:
- You clear fortress patterns more often than you brick them on your current difficulty.
- Spiridun survives several waves with light micro while you manage a Bridge push.
- Wood and Food Meadhall clusters feel automatic — see Economy & Resources.
- You can name Armor versus Ward answers without opening a wiki mid-fight — see Armor & Ward.
- Banner Carrier focus fire is habit, not a reminder you forget under panic.
- Your meta tree already bought key civil or military nodes from Meta Progression.
- You accept that greedy island takes and late Catapult timing are punished harder.
If more than two of those fail, stay down a tier. More Runes per dead run sounds efficient until every attempt dies before the first fortress teachable moment.
Prep checklist before flipping Blood Moon
Run this list on a lower difficulty until it is boring:
- Tutorial finished and tutorial Runes claimed.
- Spiridun stable for several waves with reduced babysitting.
- Meadhall-backed Wood and Food income online on strong deposits.
- Iron and Stone available for Catapults and late upgrades before fortress marches.
- At least one forward island staging Barracks or approach towers.
- Eyodin or equivalent vulnerability tools ready when Armor appears.
- Ward answers identified — do not assume Armor counters solve Ward.
- Tarbarl or other slow available for add floods.
- Banner Carrier delete plan assigned to a tower or hero.
- Krokran and Shieldmaiden understood if unlocked — control and hold, not autopilot wins.
- Runestone priority list for boss needs, not random shiny options.
- Pause discipline — experimental autosave is not a substitute for calm exits.
- Mental retreat path across Bridges if the trench alarms mid-siege.
Green most of that list, then climb. Red boxes mean farm fundamentals on lower pressure.
Economy discipline under higher pressure
Blood Moon punishes thin economies faster than flashy tower mistakes. Expand only while Spiridun is truly stable. Capture, drop a producer, snap attention home. Meadhall after the cluster exists — never as a lonely hope building. Bank Iron and Stone before the first fortress gate; Catapults and upgrade layers are not optional luxuries when warlord HP and add density spike.
Prefer Runestones that restore plot caps or civil production when deposits are weak. Prefer damage and control stones when trenches are the bottleneck and income already hums. After the run, spend Runes into permanent nodes that make those good options appear earlier — detail lives in Meta Progression.
Fortress pacing across three strongholds
Retail runs center on three fortresses. Blood Moon does not change that spine; it shortens the margin for error between them.
- Fortress one: prove the trench can survive with reduced micro while the army stages. Do not march on empty Iron.
- Fortress two: expect pattern knowledge from Beat Warlords to matter — Carrier priority, mark uptime, add clear.
- Fortress three: treat it as a full systems check. If economy or Armor/Ward answers wobble, reset the push; a failed siege you walk away from is recoverable, a dead Spiridun is not.
Pace islands as staging yards, not vanity captures. A bridgehead that cannot reinforce the fortress approach wastes the Wood you spent on the Bridge.
Honest Rune farming
Dead runs still pay Runes. That is by design. It does not mean suicide rushes on Blood Moon are optimal. Early bricks teach less: you never see the fortress tell, never test Carrier focus under real add density, and never learn when to retreat the army. Lower-tier clears that reach teachable sieges often improve your account faster than a stack of five-minute Blood Moon deaths — even if the per-run Rune number looks smaller.
Farm Runes with intent:
- Finish runs that reach at least one fortress pattern when you are still learning.
- Climb when clears are consistent, not when you are bored.
- Spend Runes into nodes that raise clear rate (economy, plot, counter unlocks) before pure greed damage.
- Re-read Launch Notes if you need the baseline of what launch difficulty and autosave promised.
Mid-run decision tree on Blood Moon
- Spiridun chip rising: cancel island micro; add slow or single-target; resume expansion only when stable.
- Armor feels immortal: confirm vulnerability marks; check you are not dumping the wrong damage type — see Armor & Ward.
- Ward package appearing: swap to the Ward answer your unlocks provide; do not spam Armor tools and hope.
- Banner Carriers buffing the clump: delete Carriers first, then collapse adds, then re-focus the warlord.
- Siege engines dying: pull Catapults; advance Shieldbearers or Shieldmaidens; reopen fire only when safe.
- Need a break mid-run: pause deliberately; remember autosave is experimental.
Related guides
- Meta Progression — where Blood Moon Runes actually go.
- Beat Warlords — three-fortress patterns and siege checklists.
- Armor & Ward — defensive layers Blood Moon will punish if ignored.
- Economy & Resources — Meadhall discipline under higher burn rates.
- Launch Notes — how Blood Moon shipped on November 17, 2026.
- Guides Hub — full guide index.
Climb when the lower tier feels automatic. Prep the checklist, keep Wood and Food honest, pace the three fortresses, and treat Rune income as a byproduct of learning — not a reason to die before the first teachable siege.
Frequently Asked Questions
Quick answers about Dawn of Defense and this wiki.
What is Blood Moon difficulty in Dawn of Defense?
Blood Moon is the high difficulty tier. It increases combat and map pressure and pays more Runes after runs for the permanent skill tree.
When should I climb to Blood Moon?
After you clear fortress patterns consistently on a lower tier, keep Spiridun stable with light micro, and already understand Armor, Ward, and Banner Carrier priorities.
Do dead Blood Moon runs still give Runes?
Yes. Losses still bank Runes, but early deaths teach less. Consistent lower-tier clears that reach fortresses often progress your account faster.
What is the difference between Runes and Runestones?
Runestones are temporary three-choice upgrades inside a run after waves. Runes are meta currency spent after each run on the permanent skill tree.
Is autosave safe to trust on long Blood Moon runs?
Launch includes experimental autosave. Treat it as helpful but not infallible — pause deliberately before stepping away mid-siege.